This walks from first launch to a live pod list, a log stream and a shell. It assumes you already have a kubeconfig.
1. Connect a cluster
By default Kubyl reads ~/.kube/config and every file listed in $KUBECONFIG. Contexts from those files show up in the sidebar under Clusters without any setup. If you have none, the welcome screen offers Add kubeconfig….
- Drop a kubeconfig file onto the window.
- Or paste YAML with the Clusters: Paste Kubeconfig YAML… action.
- Or build one with the kubeconfig editor.
A cluster connects lazily, when you expand it, switch to it or open a favorite. If a cluster needs a login, Kubyl shows a sign-in dialog. See Authentication.
2. Open a resource list
Expand the cluster and pick Pods under Workloads. Or press Ctrl K, type :pods and press Enter. The list is fed by a Kubernetes watch, so it updates live.
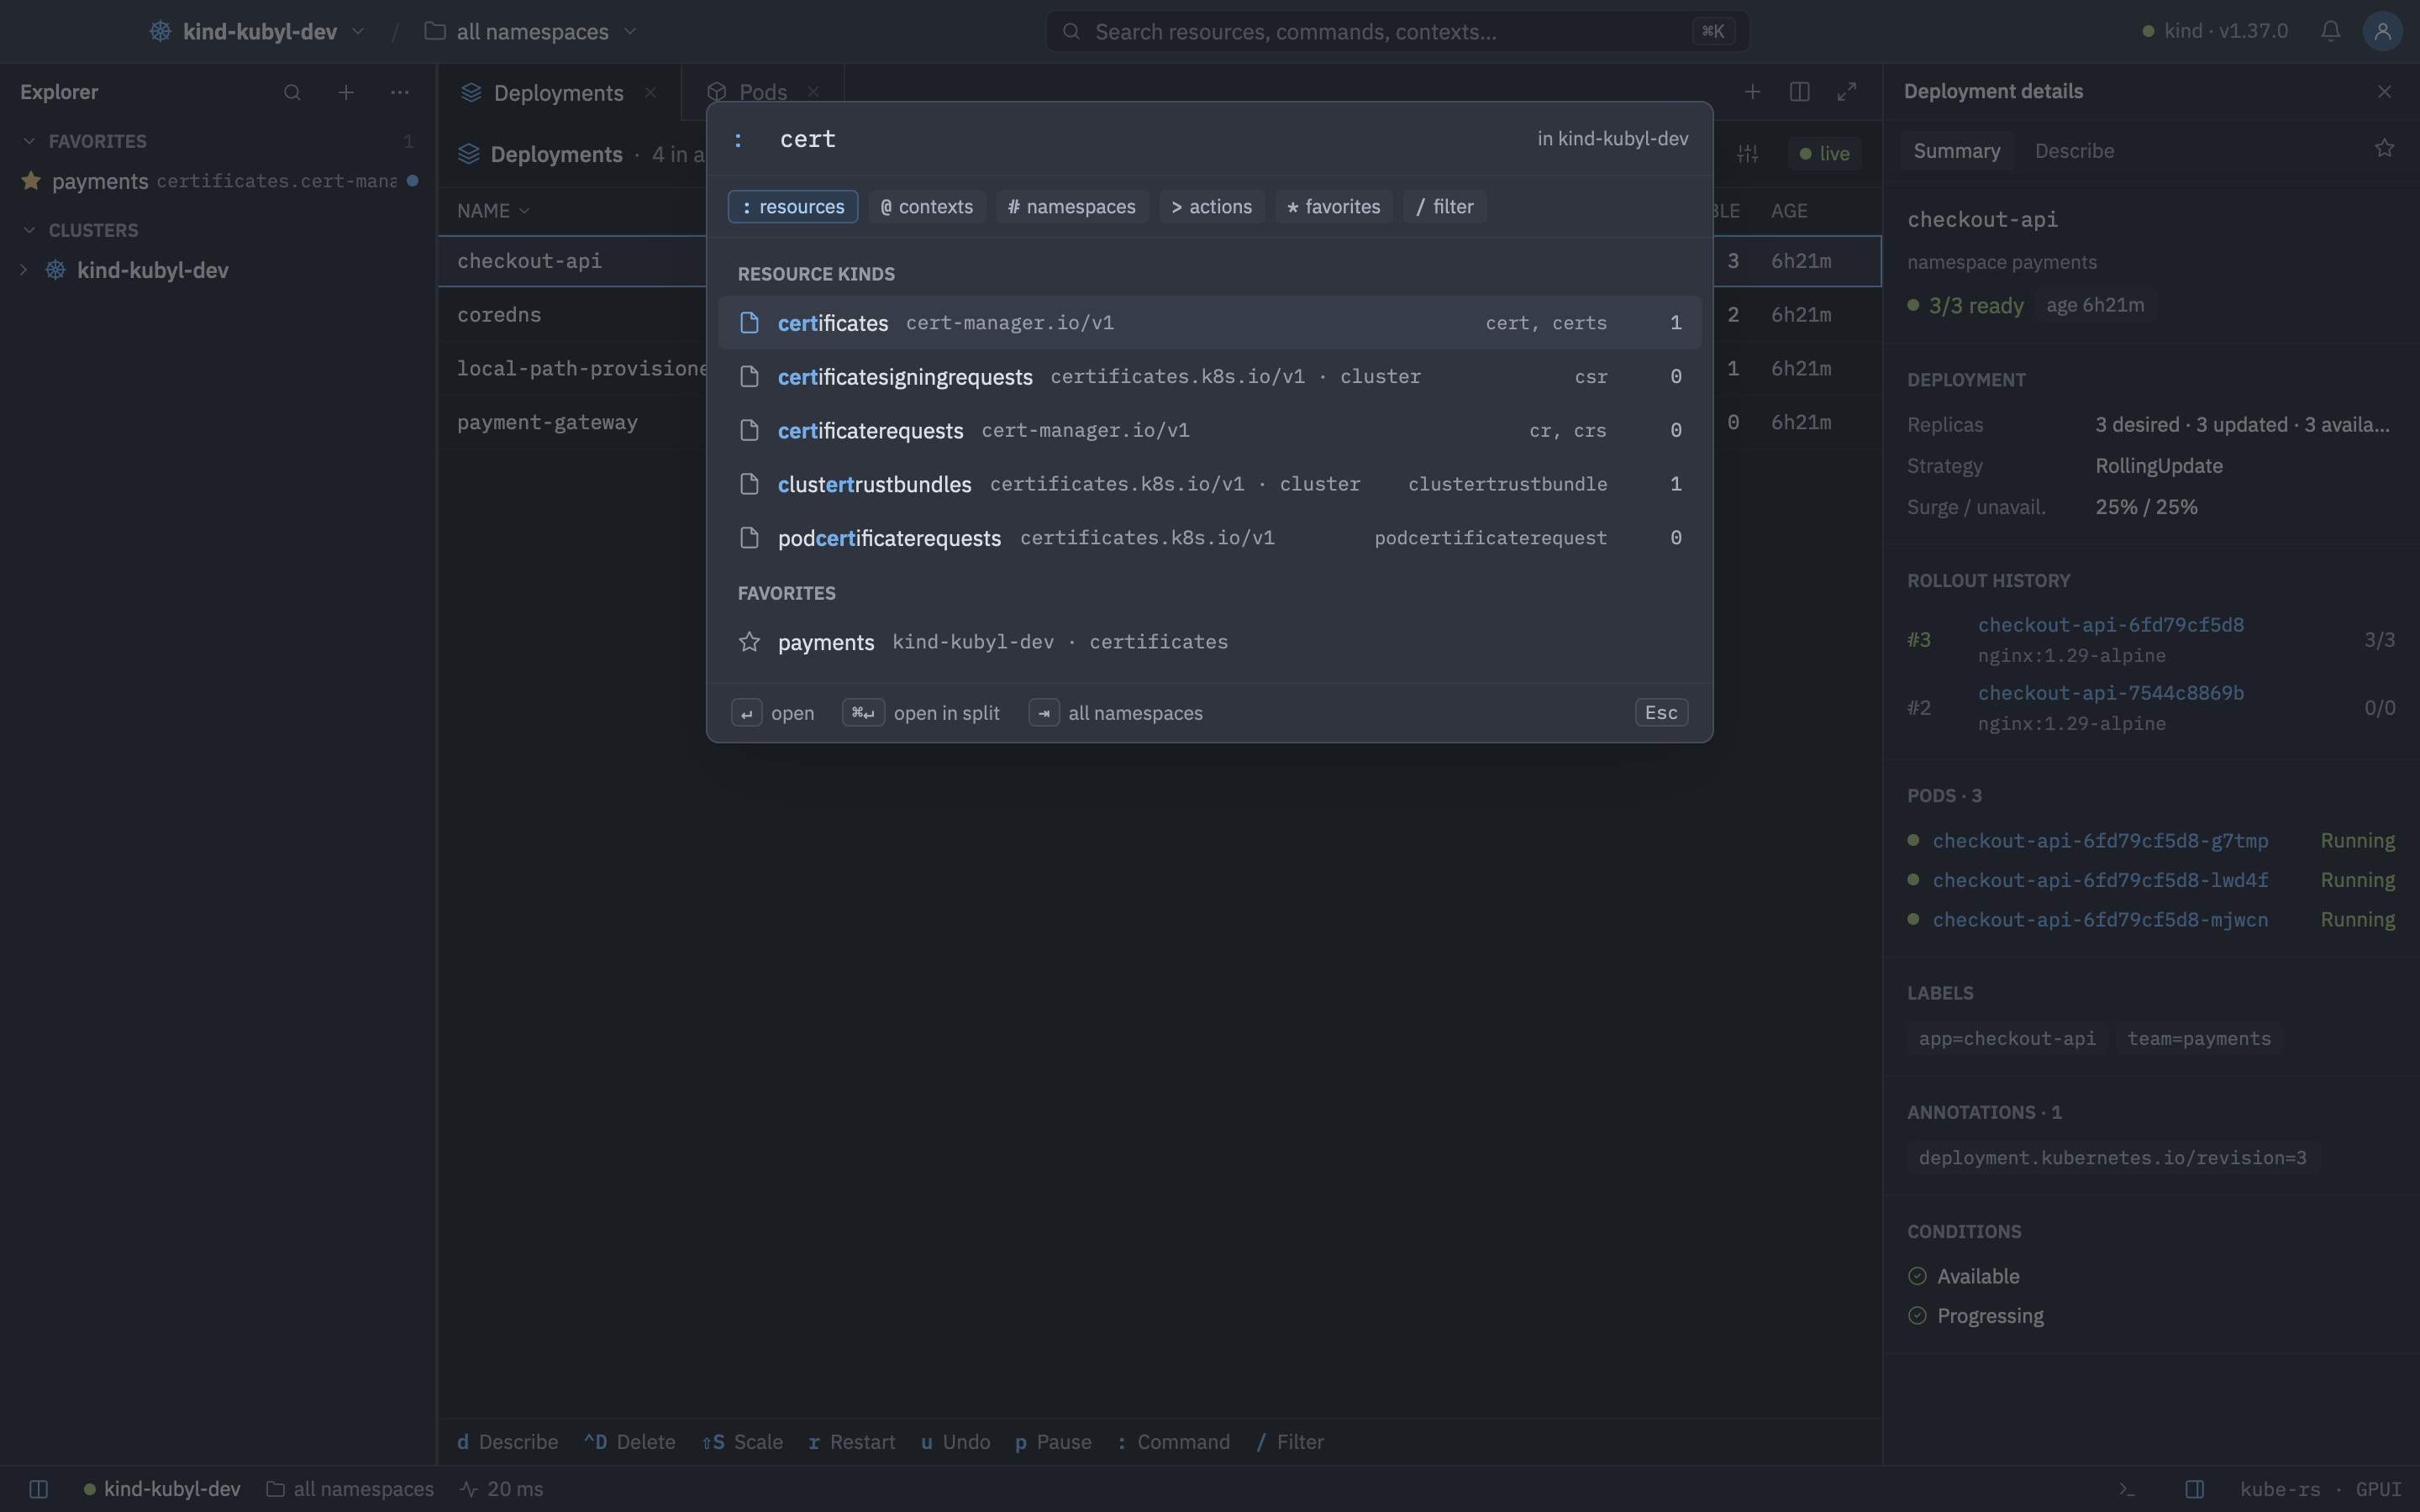
3. Switch namespace
Click the namespace switcher in the title bar, or press Ctrl K and type #. Star a namespace to favorite it. Favorites appear in the sidebar across all clusters.
4. Inspect, tail, shell
Select a pod and press Shift Enter for the details panel. Then:
| Keys | Action |
|---|---|
| L | Stream logs |
| S | Open a shell in the container |
| E | Edit the YAML |
| D | Describe |
| ShiftF | Port-forward |
| F | Browse files in the pod |
5. Protect your production clusters
Open Clusters: Open Clusters & Kubeconfigs, select your production context and turn on Production cluster. It gets a red PROD badge and destructive actions require you to type the object name. Turn on Read-only mode to block mutations entirely. See Production and read-only.